I’m kind of starting backwards, because the Atari Stacy is, at this moment, the last computer I have acquired. But because of that, I’m in the middle of the repairs and upgrades, so everything is fresh and I have taken detailed pictures.
Also, I looked for information on how to disassemble and repair the Stacy, but there is not much around the internet; basically:
- These schematics (PDF)
- Basic instructions on how to open the Stacy
- Good instructions about replacing the LCD display
- Some notes about the internal SCSI adapter (PDF)
- Upgrading the Stacy TOS to 2.06
I used the first 3 in my repairs, but there is a lot more information that I will be documenting in these posts. Eventually, maybe, I will upgrade the TOS to 2.06.
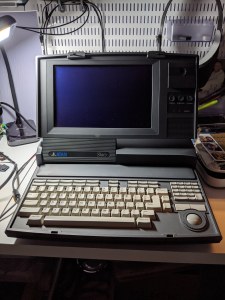
So, what’s an Atari Stacy? You can find more detailed info in its wikipedia page but, essentially, it is an Atari ST computer in a portable shell. It includes a monochrome LCD screen, a trackball, all the I/O ports you will find on a regular ST, 1 to 4 MB RAM and a hard disk (depending on the model). All for more than 7 Kg. (15 lb.)! Convenient, ah? Well, that’s not the whole story: it was supposed to use 12 “C” batteries, so it can be used on the road… but when they realized the batteries only lasted 15 minutes, Atari decided not to include the battery circuitry and glue the door to the compartment of the battery. 🙂
The particular one I bought had the following characteristics/problems:
- 1 MB RAM.
- Internal 3.5″ floppy drive that was reported to work sometimes, same as using the external floppy connector.
- 20 MB SCSI HDD: the original Conner, where the rubber seals become goo after all these years.
- Working LCD, but the internal light does not work.
- Missing covers for mouse/joystick connectors, and cartridge connector.
Of course, I want to fix all those problems. On top of that, an upgrade to 4 MB RAM and move the RTC (real-time clock) battery to the empty main-battery compartment (so it can be easily replaceable in the future).
The parts for the RAM upgrade, the missing covers and the possibly broken floppy disk controller (or DMA chip) can be found in the great Atari store Best Electronics (yes, there is still one Atari store). The LCD screen can be found on eBay, but it is not exactly the same one, so it needs some mods. And for the hard disk, I will replace it with a SCSI2SD adapter (also from eBay).
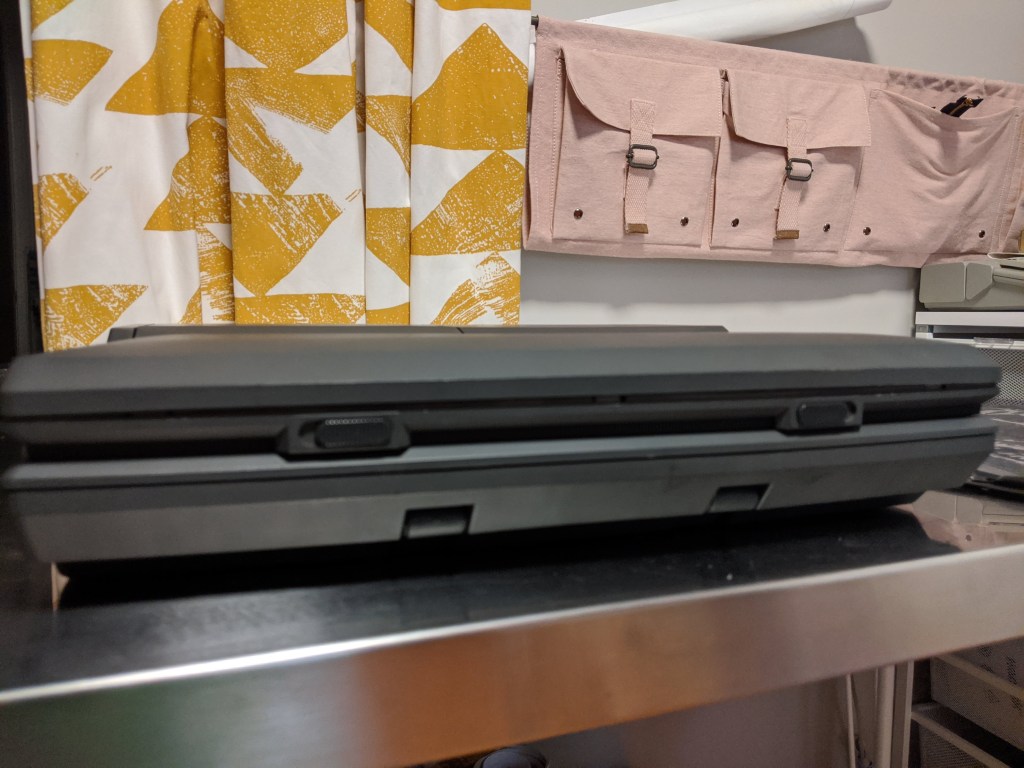
These are some pictures of the Stacy in the state I received it:

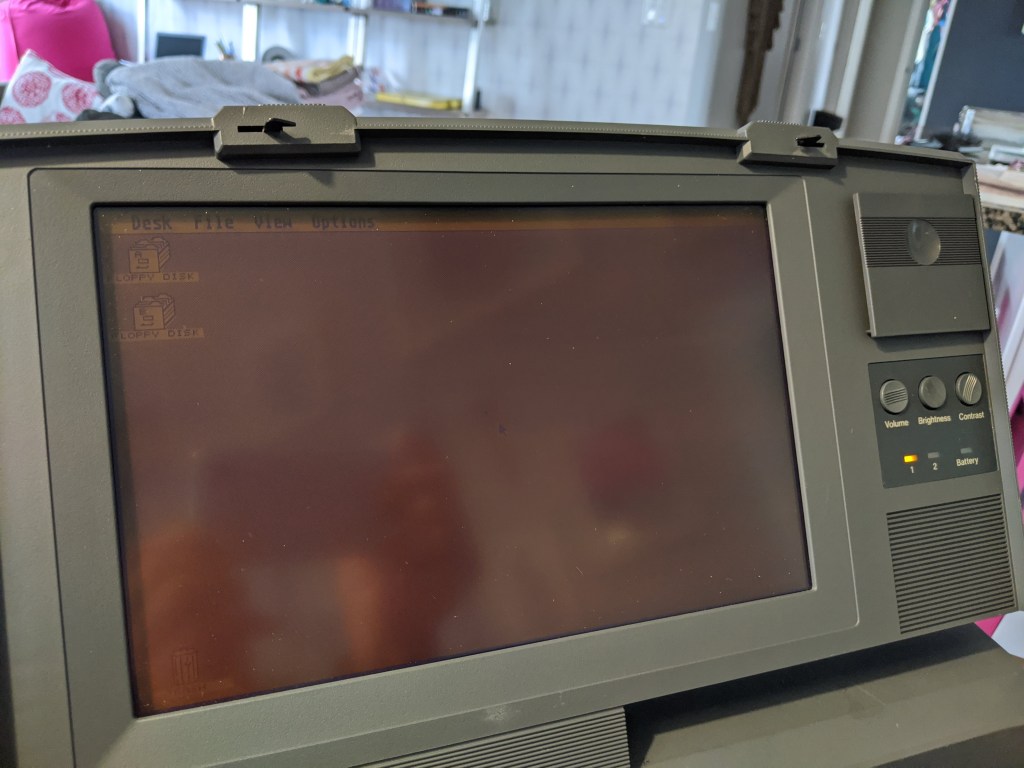
Dim screen 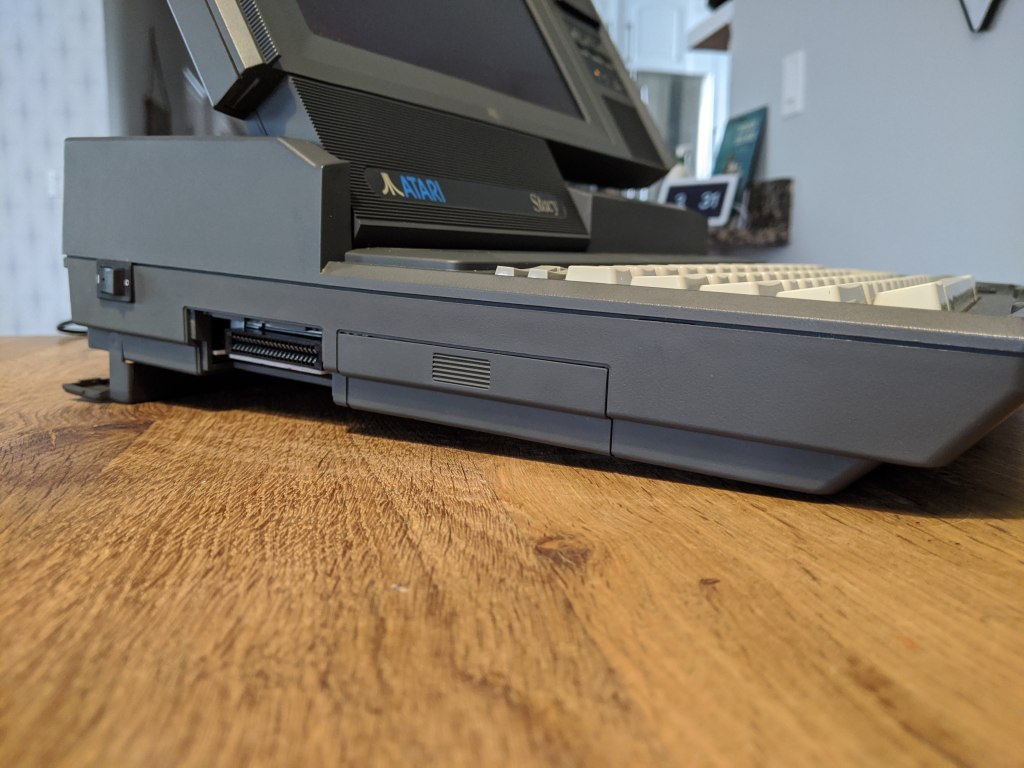
Missing cartridge cover 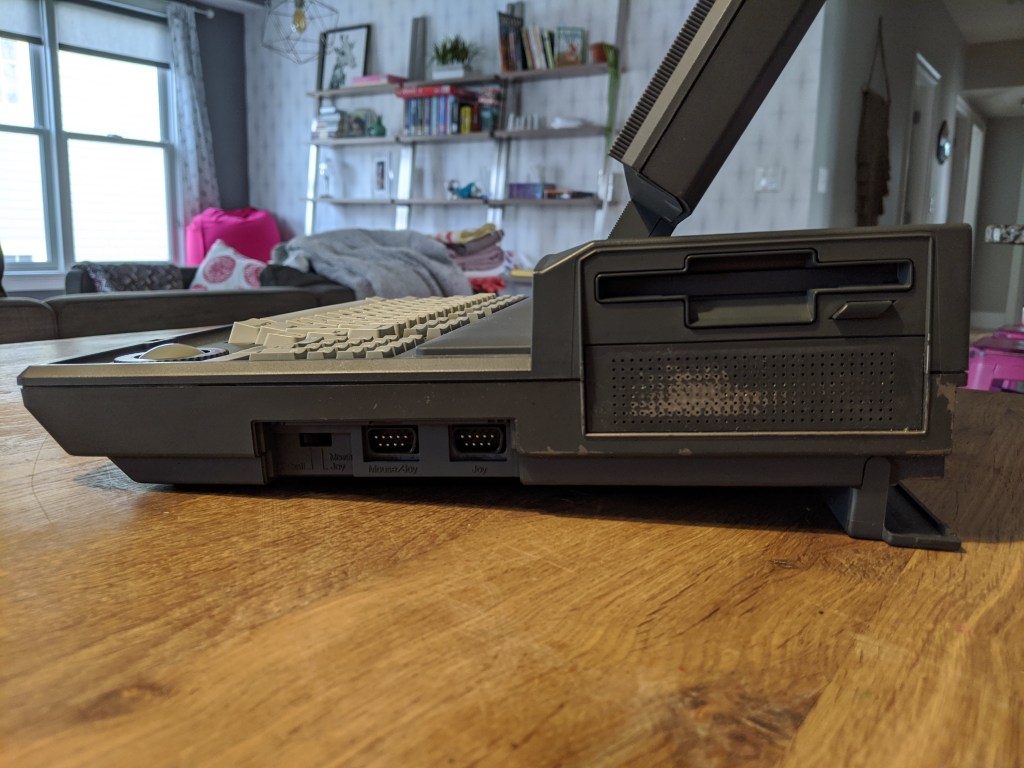
Missing joystick cover
But before changing anything, we need to open it! I will describe how I did it and what have I done so far (I haven’t finished yet) but I want to give a warning from what I have learned so far: if you want to make repairs/mods/upgrades in the main body and the change the LCD screen, do the LCD screen (the actual change; you still need to open the cover of the screen panel) at the end. You will see why later.
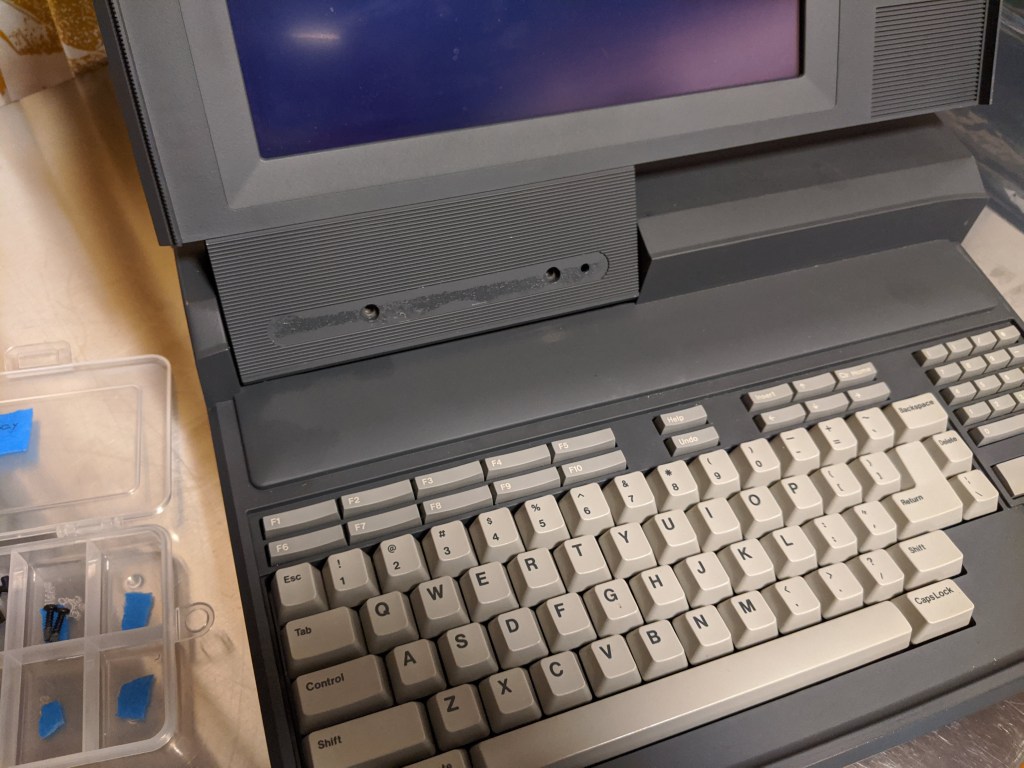
The first thing is to remove the back panel covering the screen. To do that, you need to remove 2 screws that are located under the “Atari Stacy” label just below the screen. I was a little worried about how to do it without damaging it. I used the sharp point of a utility knife, inserting it in between the label and the case; it came off very easily:
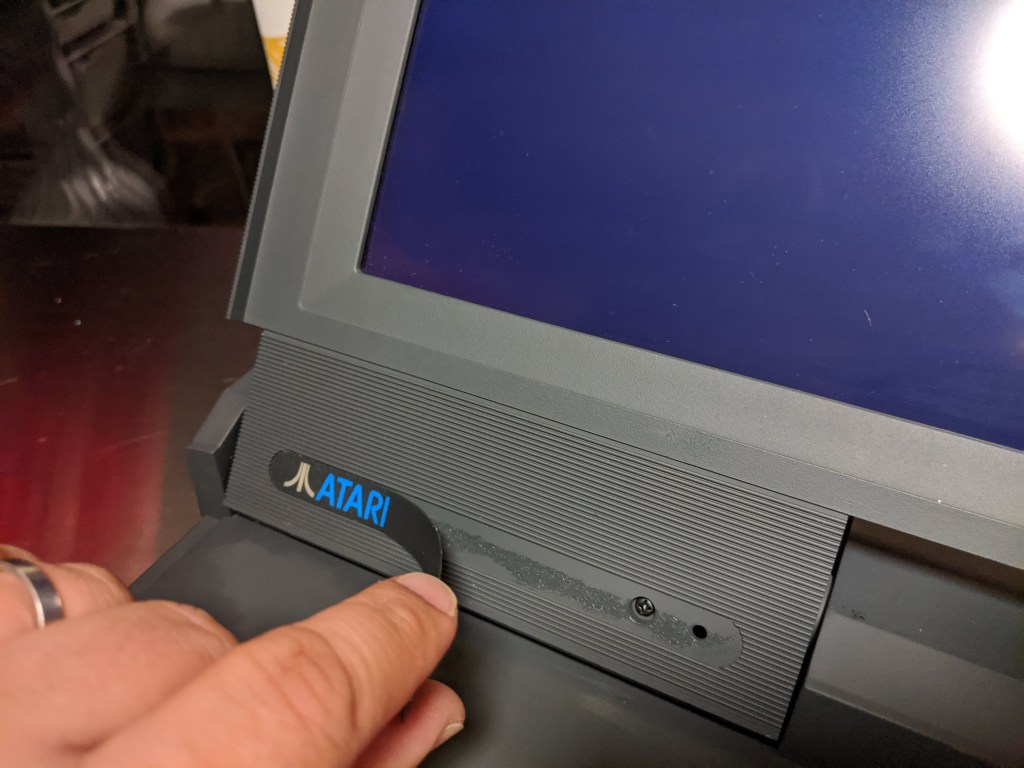
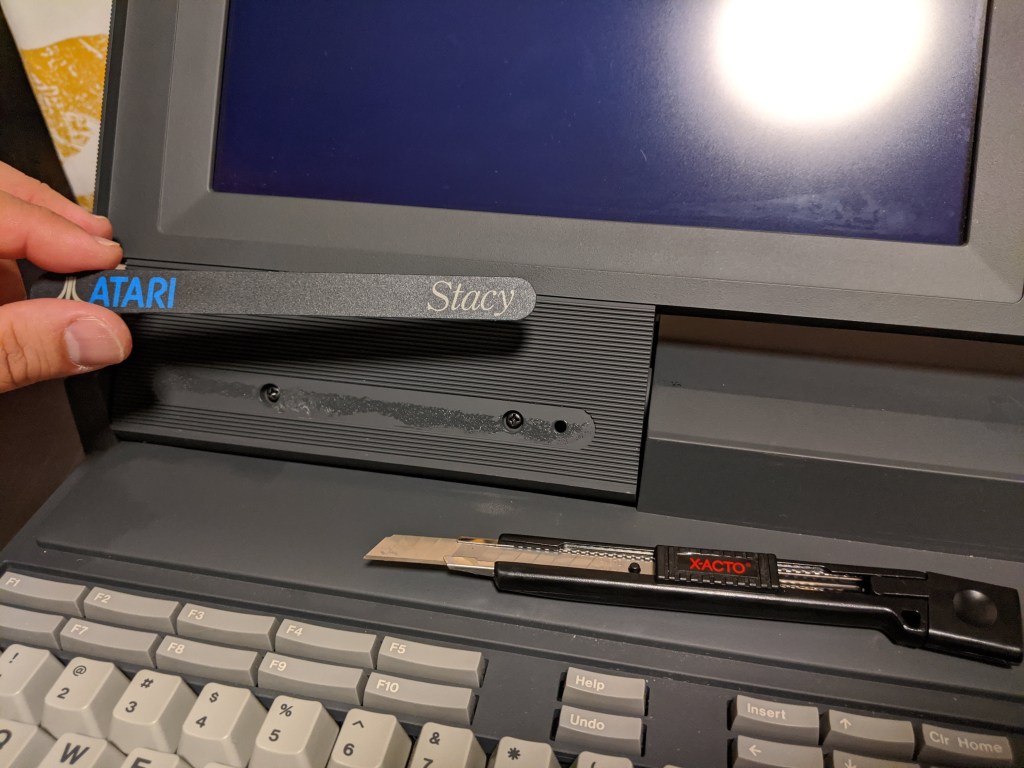
Remove those 2 screws. And now, one of the many scary parts come: to remove the cover, you need to pry at specific places, gently but firm, to separate the back from the front. Here are a few pictures:
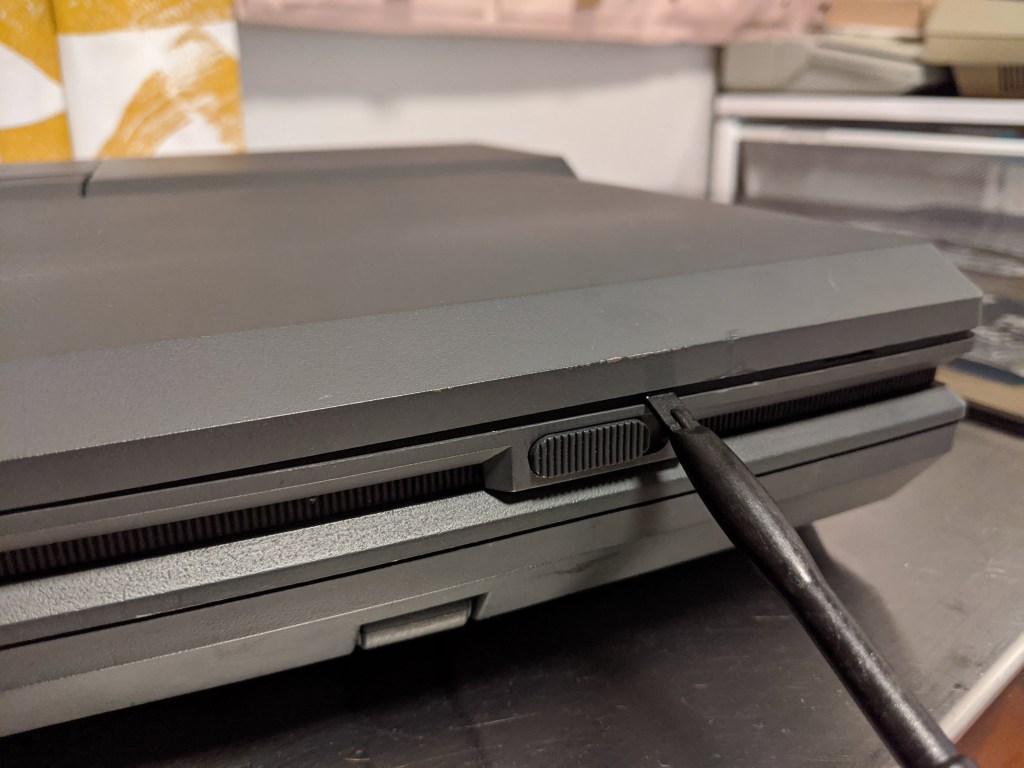


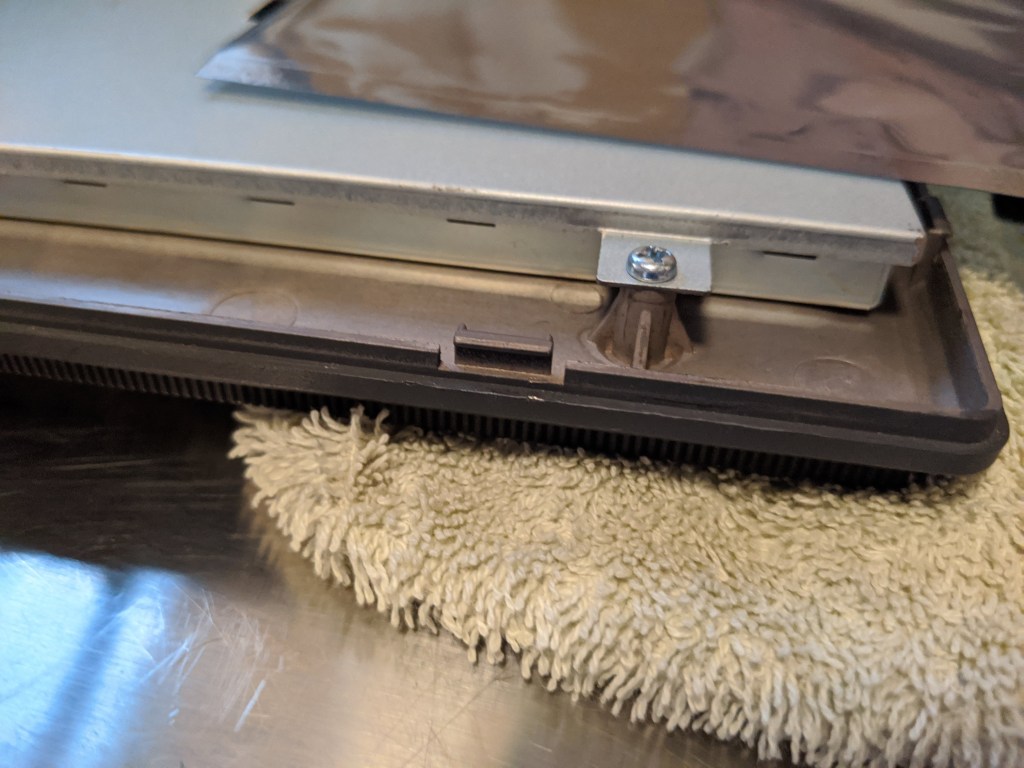
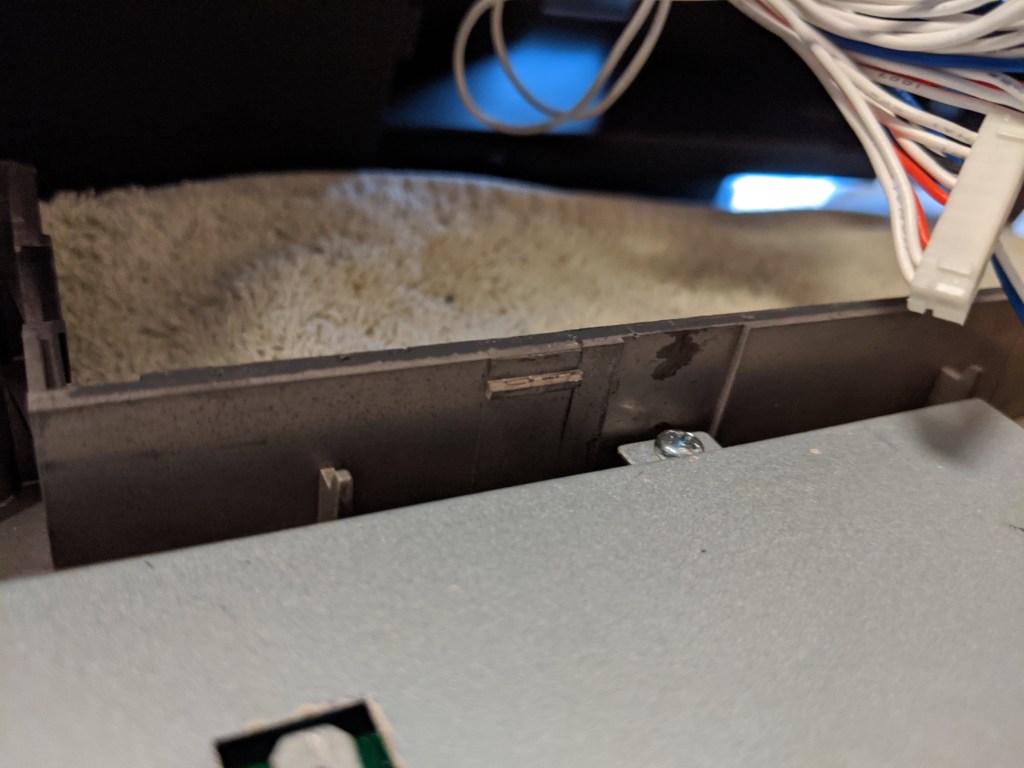
While prying the first latch, I broke the plastic tool you can see in the first picture; after that I used a small flat screwdriver. The latches are located:
- Front: at approximately 4, 19 and 34 cm from a side edge (it does not matter what side edge; they are symmetrical).
- Left and right sides: at approximately 5 and 18 cm from the front edge.
- Back: at approximately 6.5 and 15 cm from the right edge.
Start with the front, and then the sides; the latches are in the bottom part (not the cover you are removing; see the second to last picture above, they are all the same style), and the latches can move a little (very little), they break easily (as I did with one). After those are done, do the back: those latches (last picture above) don’t move so you should pry on a movement moving the bottom part away from the top cover; it is difficult to explain. When done, it is easy to lift the back panel.
I will leave this post until this point, so the other processes (replace LCD screen, opening the main body, etc.) live in their own posts.

One thought on “Long time ago there was Stacy… (Stacy part 1)”